How to Winterize an RV: Step-by-Step
Drain the tanks and water heater, set the bypass, choose antifreeze or blow-out, and protect batteries and seals before freezing weather arrives.
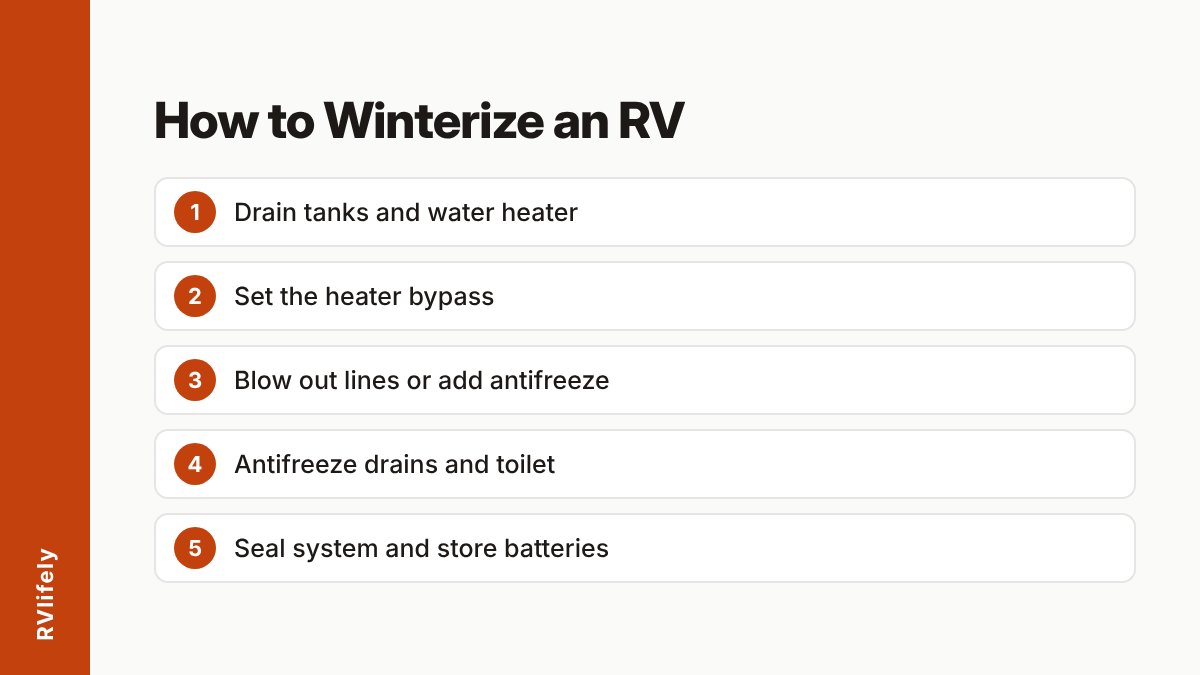
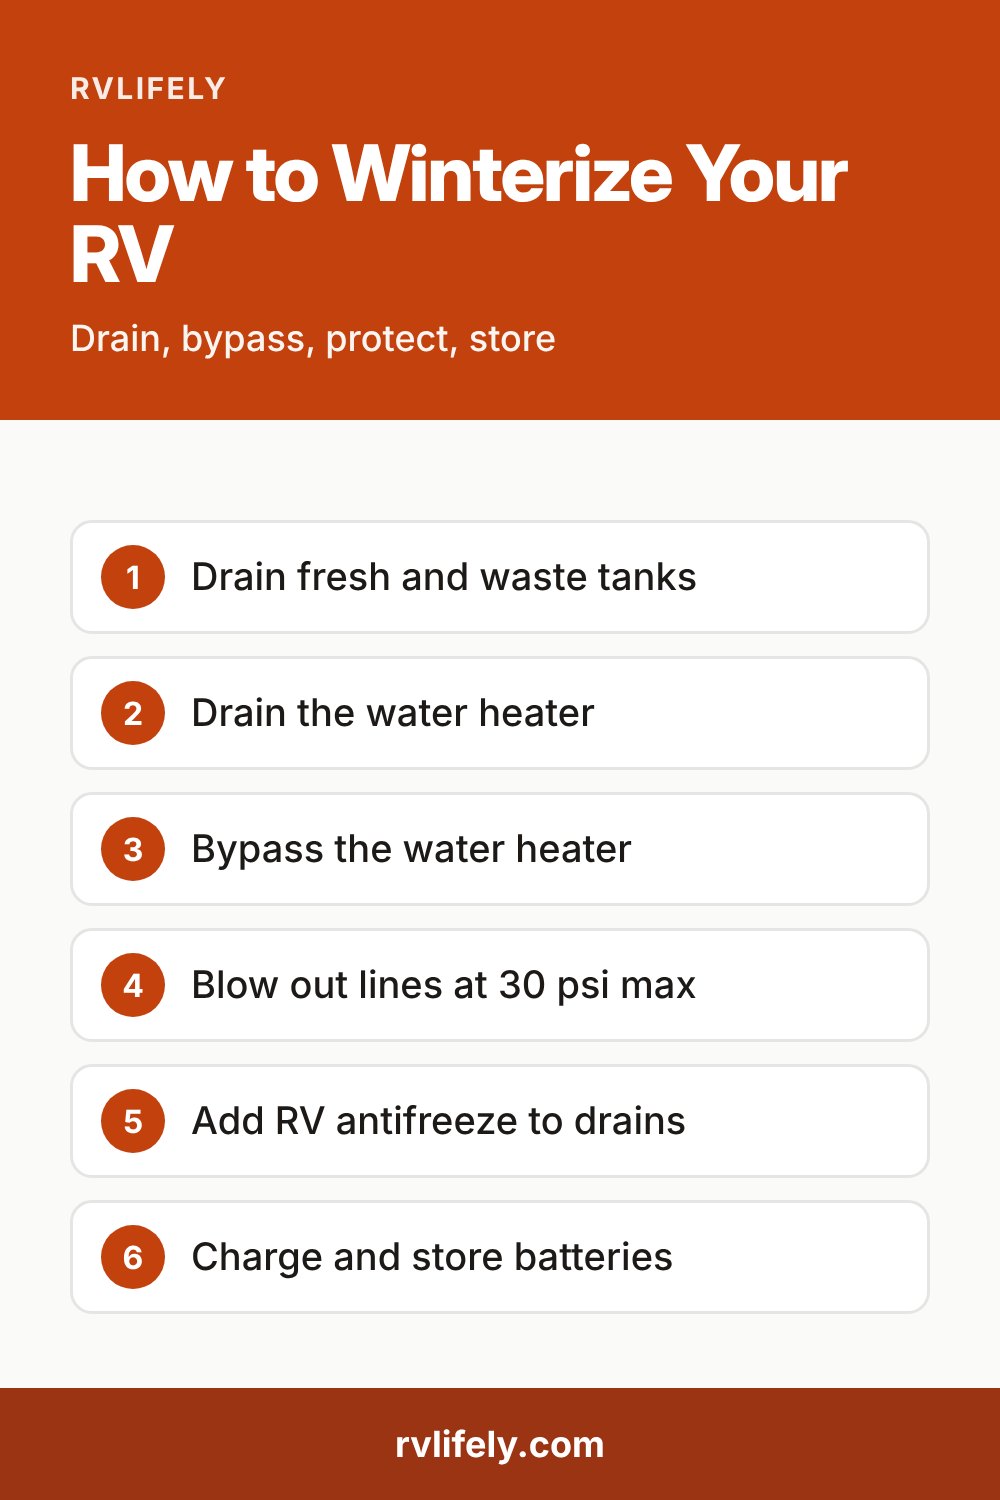
To winterize an RV, empty every tank and the water heater, bypass the heater, push water out of the lines with compressed air or replace it with RV antifreeze, and then protect the drains, batteries and seals. Done in that order, it takes most owners an afternoon and prevents burst pipes and cracked fittings.
Layouts differ a lot between models, so use this guide as a general order of work and check your owner’s manual for the exact drain, bypass and valve locations on your unit. In the UK and Australia the same job is often called winterizing (or “winterising”) a caravan or motorhome, and the steps are very similar.
Quick answer
- Empty the fresh, gray and black tanks.
- Drain the water heater and set its bypass valves.
- Open the low-point drains and all faucets (taps), including any outdoor shower.
- Blow out the lines with compressed air, or pump RV antifreeze through them.
- Pour antifreeze into every drain, P-trap and the toilet.
- Close everything up, then look after batteries, seals and pests.
What you need
- Non-toxic RV antifreeze (propylene glycol). One manufacturer suggests about 1 to 2 gallons for the air method and about 4 to 6 gallons if you pump antifreeze through the lines.
- A blow-out plug or adaptor for the city water inlet and an air compressor with a regulator (air method only).
- A pump bypass kit or hose (antifreeze method only).
- A wrench or socket for the water heater drain plug and a new filter cartridge if yours will be discarded.
- Access to an approved dump station.
Never use automotive antifreeze. It is poisonous and not suitable for potable water systems.
Antifreeze vs blow-out: which method?
| Compressed air | RV antifreeze | |
|---|---|---|
| How it works | Air pushes water out of the lines | Antifreeze replaces water in the lines |
| Main extras needed | Compressor, regulator, inlet adaptor | Pump bypass hose or lots of antifreeze |
| Antifreeze used | A little, for drains and toilet | Several gallons in total |
| Key limit | Keep air pressure at or below 30 psi | Must flow pink at every fixture |
| Watch out for | Pockets of water left in low spots | Taste left in the tank if poured into it |
Plenty of owners combine the two: blow out the lines, then add a quart of antifreeze to each drain and the toilet so the traps are protected.
Step-by-step
1. Drain the tanks and water heater
- Dump the gray and black tanks at an approved station. If you have a black tank flush, use it so the tank is as clear as possible.
- Open the fresh water tank drain and let it empty fully, then run the water pump for about 30 seconds to clear the suction line.
- Turn the water heater off in both gas and electric modes. Ideally switch it off the night before so it is not scalding hot.
- Remove the water heater drain plug and open the pressure relief valve so air can get in and the tank can drain. Tankless units need the procedure in the manufacturer’s manual.
- Open the low-point drains, usually under the RV near the water heater, then open every faucet and the outdoor shower. Leave them open while the lines drain.
2. Bypass the water heater
Turn the bypass valves to the bypass position so antifreeze does not fill the tank. They are often on the lines at the back of the heater and may sit behind an access panel. Some RVs have one valve, others have several, so follow your manual. A conventional 6 or 10 gallon tank soaks up a lot of antifreeze and is hard to flush, which is why it is drained and bypassed.
3. Deal with the filter and ice maker
Remove the water filter cartridge, drain the housing and reinstall it, or use the bypass tube if you have one. Antifreeze usually ruins the filter element. If you have a residential-style fridge with an ice maker, drain its supply line with the others and do not put antifreeze in it.
4a. Blow out the lines (air method)
- Fit the adaptor to the city water inlet and connect the compressor.
- Set the regulator so pressure does not exceed 30 psi.
- Open each faucet in turn, hot and cold, until only air comes out.
- Hold the toilet valve open until the line is clear, and open the shower diverter to clear the hose and head.
- Clear the outdoor shower or kitchen if you have one, and run the washer fill cycle if fitted.
4b. Pump antifreeze through the lines (antifreeze method)
- Reinstall the low-point drain caps and close all faucets.
- Connect the pump bypass hose to the suction side of the pump and put the other end in the antifreeze jug. If you cannot bypass the pump, close the fresh tank drain and pour at least 4 gallons into the tank.
- Turn the pump on. Open each cold faucet until pink antifreeze appears, then repeat with hot, including the outdoor shower.
- Flush the toilet until antifreeze fills the bowl.
Avoid pouring antifreeze into the fresh water tank if you can help it. Tanks never drain completely, and the taste is hard to remove later.
5. Protect drains and traps
Pour about one quart of antifreeze into each drain, each P-trap and the toilet, plus the washer drain if fitted. Leave some in the toilet bowl to keep the seal wet. This stops the traps freezing and drying out, which can let sewer gas into the RV. Waterless traps do not need it.
6. Seal up the system
Refit the drain caps and plugs and close valves so pests cannot get into the water system. Check the city water inlet too: a frozen inlet can leak into the sidewall, and a blow-out plug helps you get antifreeze through it.
Batteries, seals and storage
| Item | What to do |
|---|---|
| House batteries | Keep charged with solar, a trickle charger or occasional shore power |
| Chassis battery | Roof solar and shore power do not charge it; drive monthly or use a separate charger |
| Generator | Run it for about 30 minutes each month, or as your manual states |
| Roof and body seals | Inspect seams and sealant around vents, windows and slide-outs before the first freeze and note anything cracked or lifting |
| Fuel | Add fuel stabilizer if the RV will sit for long stretches |
If an inspection turns up damaged sealant, address it before storage, since trapped moisture is harder to spot once the RV is covered.
Common mistakes
- Not writing a checklist, so a drain or valve gets skipped.
- Pouring antifreeze straight into the fresh water tank.
- Forgetting outdoor connections such as the outdoor shower, low-point drains and city water inlet.
- Not bypassing a conventional water heater.
- Not bypassing or removing the water filter.
- Skipping the P-traps and toilet.
- Using automotive antifreeze.
When to call a professional
Propane appliances, regulators and lines, and towing or brake and hitch systems are safety-critical. If you smell gas, find a leak, or are unsure about any of these, have a qualified technician inspect them. Tankless water heaters and unusual plumbing layouts are also worth a dealer visit if your manual is unclear.
Sources
Frequently asked questions
Should I use antifreeze or compressed air to winterize my RV?
Both work. Many owners blow out the lines with air first and then add a little RV antifreeze to the drains and toilet, while others pump antifreeze through every line. Your owner's manual may recommend one method for your model.
Can I use automotive antifreeze in my RV plumbing?
No. Automotive antifreeze is ethylene glycol and is poisonous, so it is not suitable for drinking-water systems. Use only non-toxic antifreeze made for RVs and marked as propylene glycol.
Do I need to drain the water heater before winterizing?
Yes. A conventional tank holds several gallons and soaks up antifreeze, so you drain it and then bypass it. Tankless heaters work differently, so follow the manufacturer's procedure in your manual.
How often should I charge batteries in storage?
House batteries can be kept topped up with solar or a trickle charger, or by plugging in from time to time. Chassis batteries are not charged by roof solar or shore power, so a monthly drive or a separate charger helps.